
HTML · 2 min read
Forms and Inputs
Collect information from users with text fields, checkboxes, dropdowns, and buttons.
Forms let users send information: sign-ups, searches, comments, checkouts. A form is built with the <form> element and filled with controls like <input>, <select>, <textarea>, and <button>.
html
<form action="/subscribe" method="post">
  <label for="email">Email</label>
  <input type="email" id="email" name="email" required>
  <button type="submit">Subscribe</button>
</form>actionis the URL that receives the data.methodis how it is sent:get(data in the URL, good for searches) orpost(data in the request body, good for sign-ups).nameis the key each value is sent under. Without aname, the field is not sent.
Labels
Every input needs a <label>. Connect them by matching the label's for with the input's id. Clicking the label then focuses the input, and screen readers announce it.
html
<label for="username">Username</label>
<input type="text" id="username" name="username">
Input types
The type attribute changes how an input looks and behaves:
| Type | Use |
|---|---|
text | Single line of text |
email | Email address (checks the format) |
password | Hidden characters |
number | Numbers, with optional min, max, step |
date | A date picker |
checkbox | On/off choices, pick many |
radio | Pick one from a group (same name) |
range | A slider |
color | A color picker |
file | Upload a file |
Try it: a sign-up form
<form>
<p>
  <label for="name">Name</label><br>
  <input type="text" id="name" name="name" placeholder="Ada Lovelace" required>
</p>
<p>
  <label for="mail">Email</label><br>
  <input type="email" id="mail" name="email" required>
</p>
<p>
  <label for="level">Experience</label><br>
  <select id="level" name="level">
    <option value="new">Brand new</option>
    <option value="some">Some experience</option>
    <option value="pro">I code daily</option>
  </select>
</p>
<fieldset>
  <legend>Favorite track</legend>
  <label><input type="radio" name="track" value="html" checked> HTML</label>
  <label><input type="radio" name="track" value="css"> CSS</label>
  <label><input type="radio" name="track" value="js"> JavaScript</label>
</fieldset>
<p>
  <label for="bio">About you</label><br>
  <textarea id="bio" name="bio" rows="3" cols="30"></textarea>
</p>
<p>
  <label><input type="checkbox" name="news"> Send me the newsletter</label>
</p>
<button type="submit">Sign up</button>
</form>
Edit this example in the Playground.
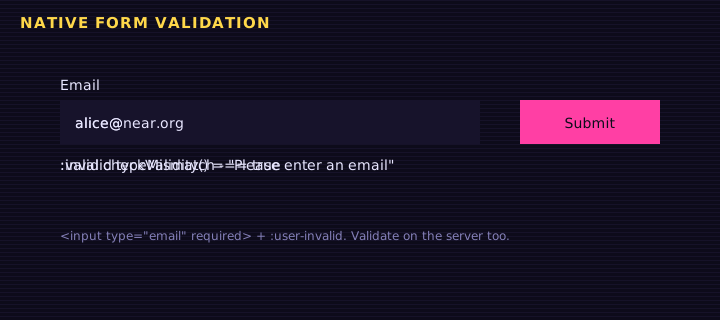
Try clicking Sign up with the email field empty or filled with "hello". The browser blocks the submission and shows a message.
Built-in validation
HTML can check input before it is sent, no JavaScript needed:
html
<input type="text" name="user" required minlength="3" maxlength="20">
<input type="number" name="age" min="13" max="120">
<input type="text" name="zip" pattern="[0-9]{5}" title="Five digits">Grouping with fieldset
<fieldset> groups related controls and <legend> gives the group a title. This is especially important for radio buttons and checkboxes.
Buttons
html
<button type="submit">Send</button>   <!-- submits the form -->
<button type="reset">Clear</button>   <!-- resets all fields -->
<button type="button">Do something</button> <!-- does nothing until JavaScript is added -->Summary
- Wrap controls in
<form>withactionandmethod. - Give every input a
nameand a connected<label>. - Pick the right
typefor better keyboards and built-in checks. - Use
required,min,max, andpatternfor simple validation, but always validate on the server too.
Saved in this browser.